DIY Landscaping Projects for Beginners

August 1, 2024

Landscaping transforms outdoor spaces into beautiful, functional areas. For Louisville residents, DIY landscaping offers an opportunity to save money on landscaping professionals, express creativity, and tailor designs to personal preferences. This guide will walk you through beginner-friendly projects specifically suited to Louisville’s climate and environment, ensuring that your efforts yield rewarding results.

Assessing Your Space

The first step in any landscaping project is to assess your space. Begin by measuring your yard or garden. Note the dimensions and sketch a basic layout, including existing elements like trees, structures, and pathways. Planning allows you to visualize your design and identify potential challenges. Consider sunlight patterns, drainage, and soil type to ensure that your plants and structures thrive.

Choosing the Right Plants

Louisville’s climate, characterized by hot summers and cold winters, dictates the types of plants that will thrive. For beginners, it’s best to start with hardy, low-maintenance options. Native plants are particularly suited to local conditions and support local wildlife. Consider options like Coneflowers, Black-eyed Susans, and Kentucky Bluegrass. These plants are resilient and require minimal care. Remember to group plants with similar water and sunlight needs together to simplify maintenance.

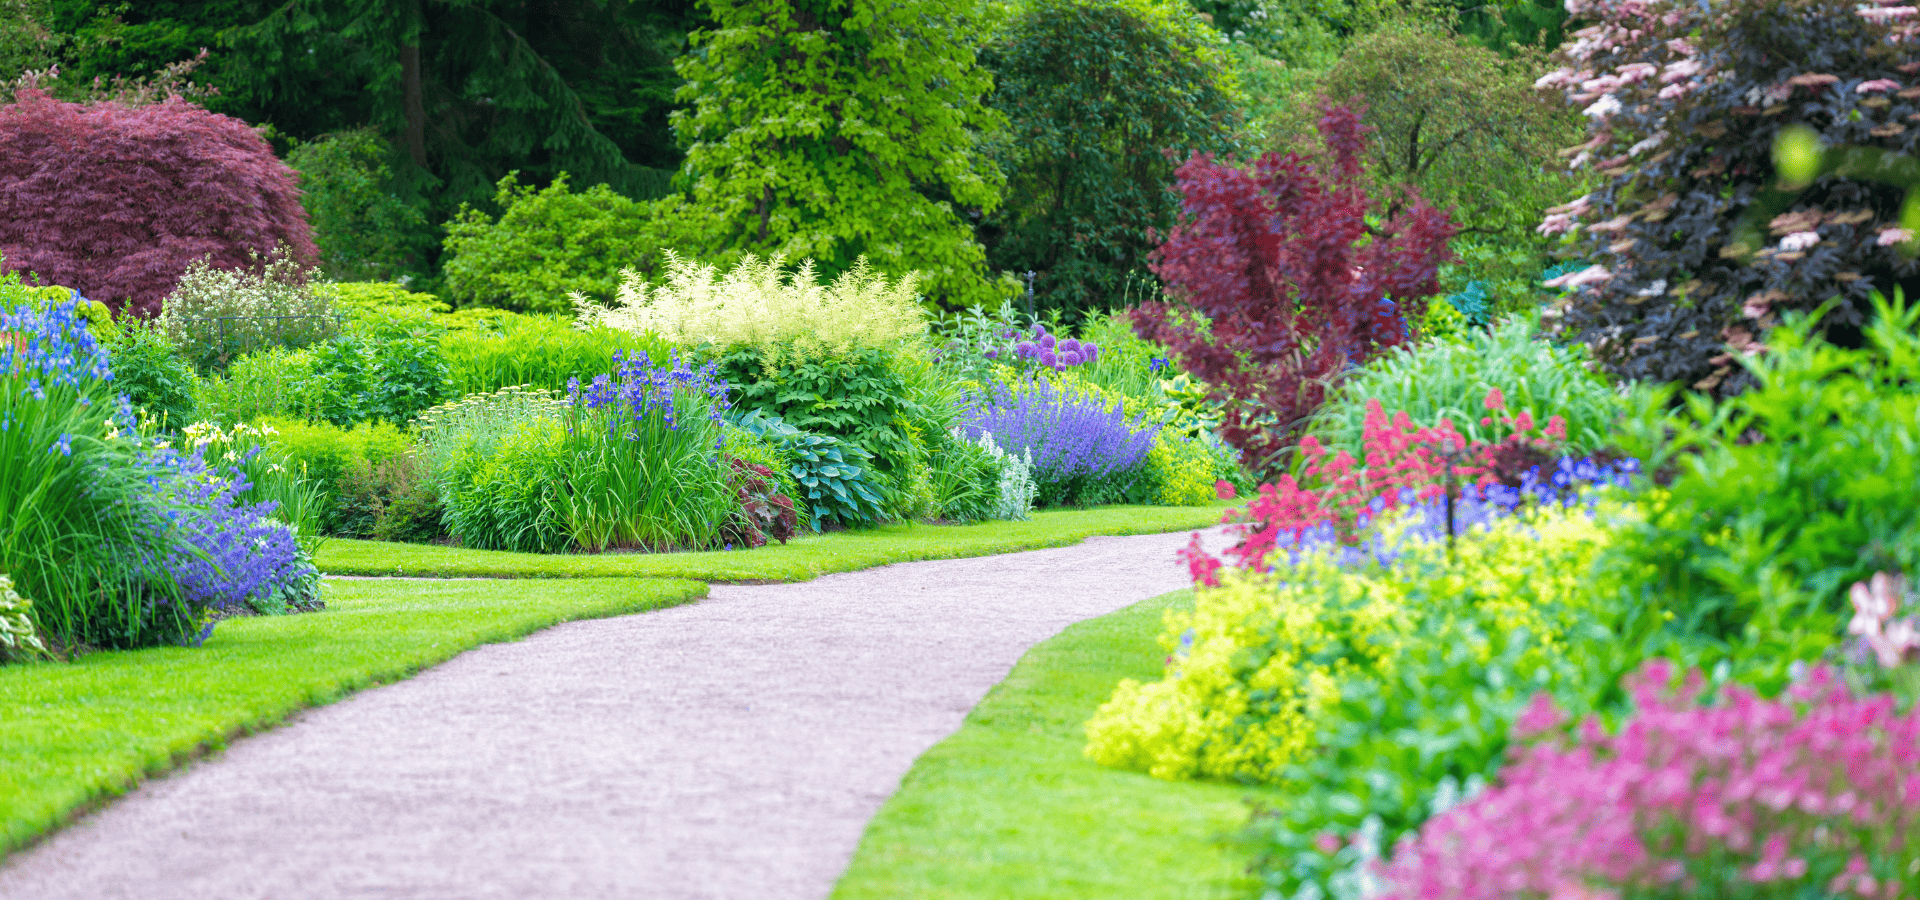
Creating Flower Beds

Flower beds add color and structure to your garden. Start by preparing the soil. Remove weeds and rocks, then enrich the soil with compost. Design aesthetically pleasing shapes for your flower beds, such as curved lines that mimic natural forms. When planting, layer your plants: place taller plants at the back and shorter ones at the front. This arrangement ensures that all plants receive adequate sunlight and creates visual depth.

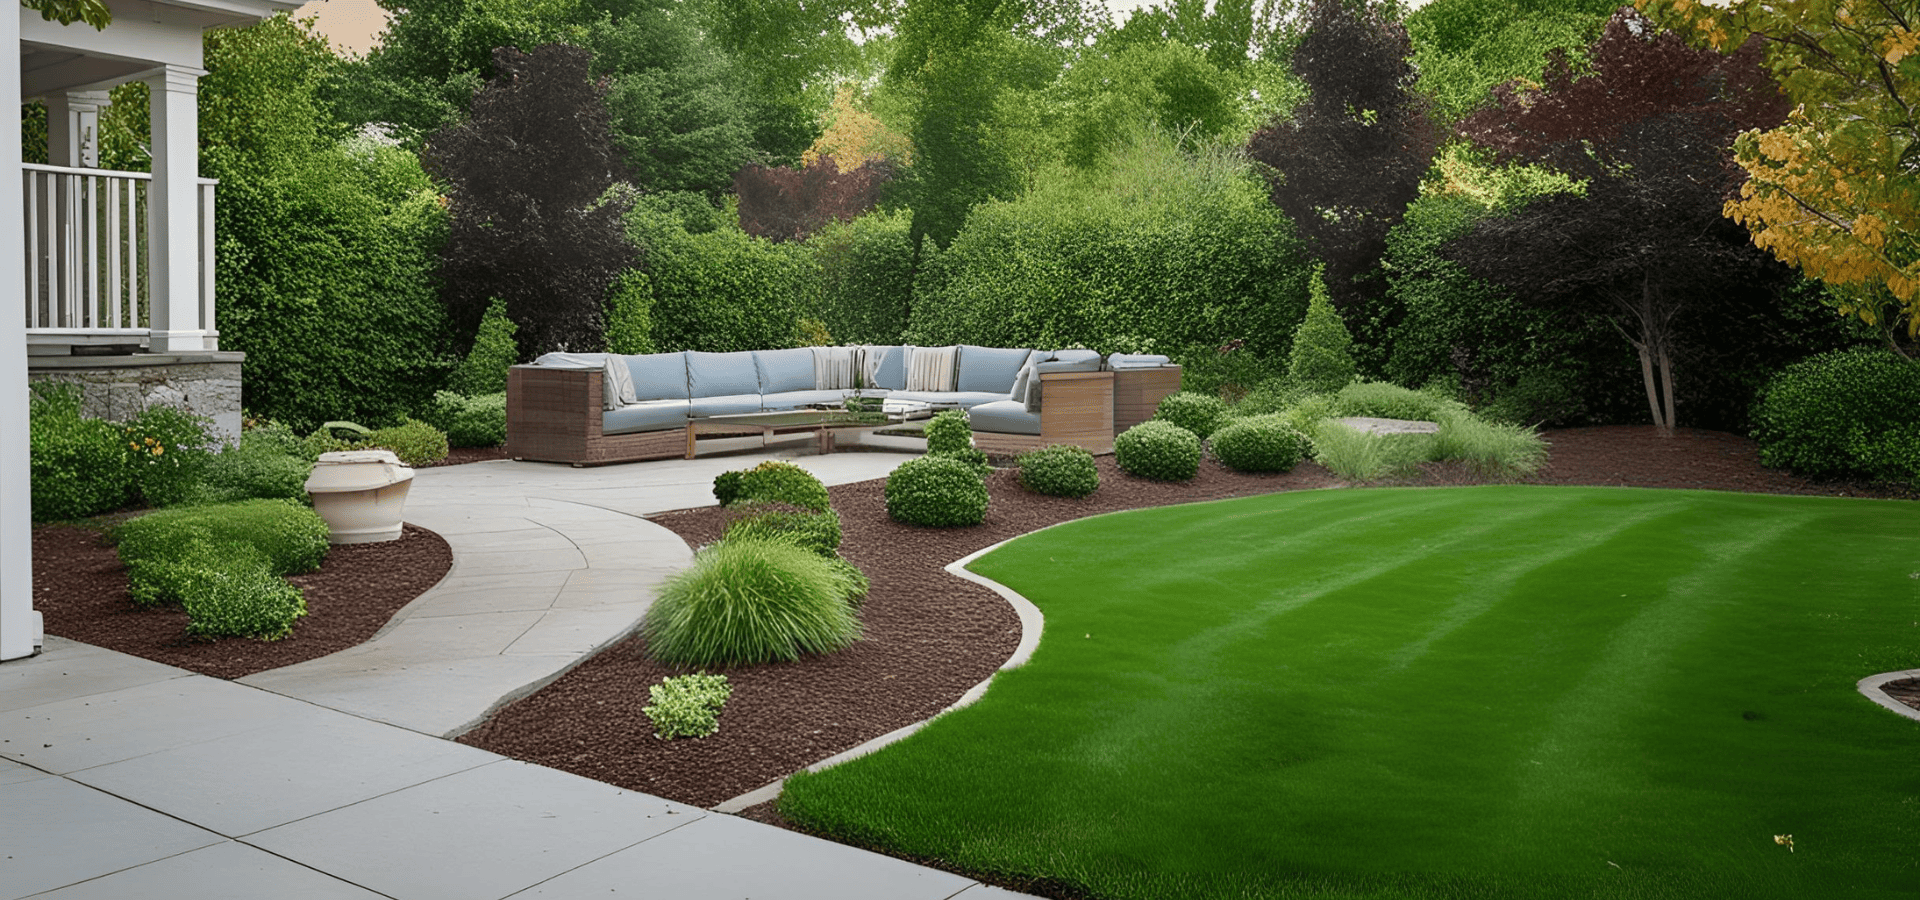
Installing a Simple Pathway

A pathway adds functionality and charm to your landscape. Materials such as gravel, stepping stones, or pavers are easy to work with and durable. Begin by planning your path layout. Mark the edges with stakes and string. Dig a shallow trench along the marked path, then lay down a weed barrier fabric. Add a layer of sand for stability, and place your chosen pathway material on top. Finally, fill in any gaps with sand or soil. Regular maintenance, like sweeping and occasional weeding, will keep your path looking neat.

DIY raised garden beds by a homeowner in Louisville

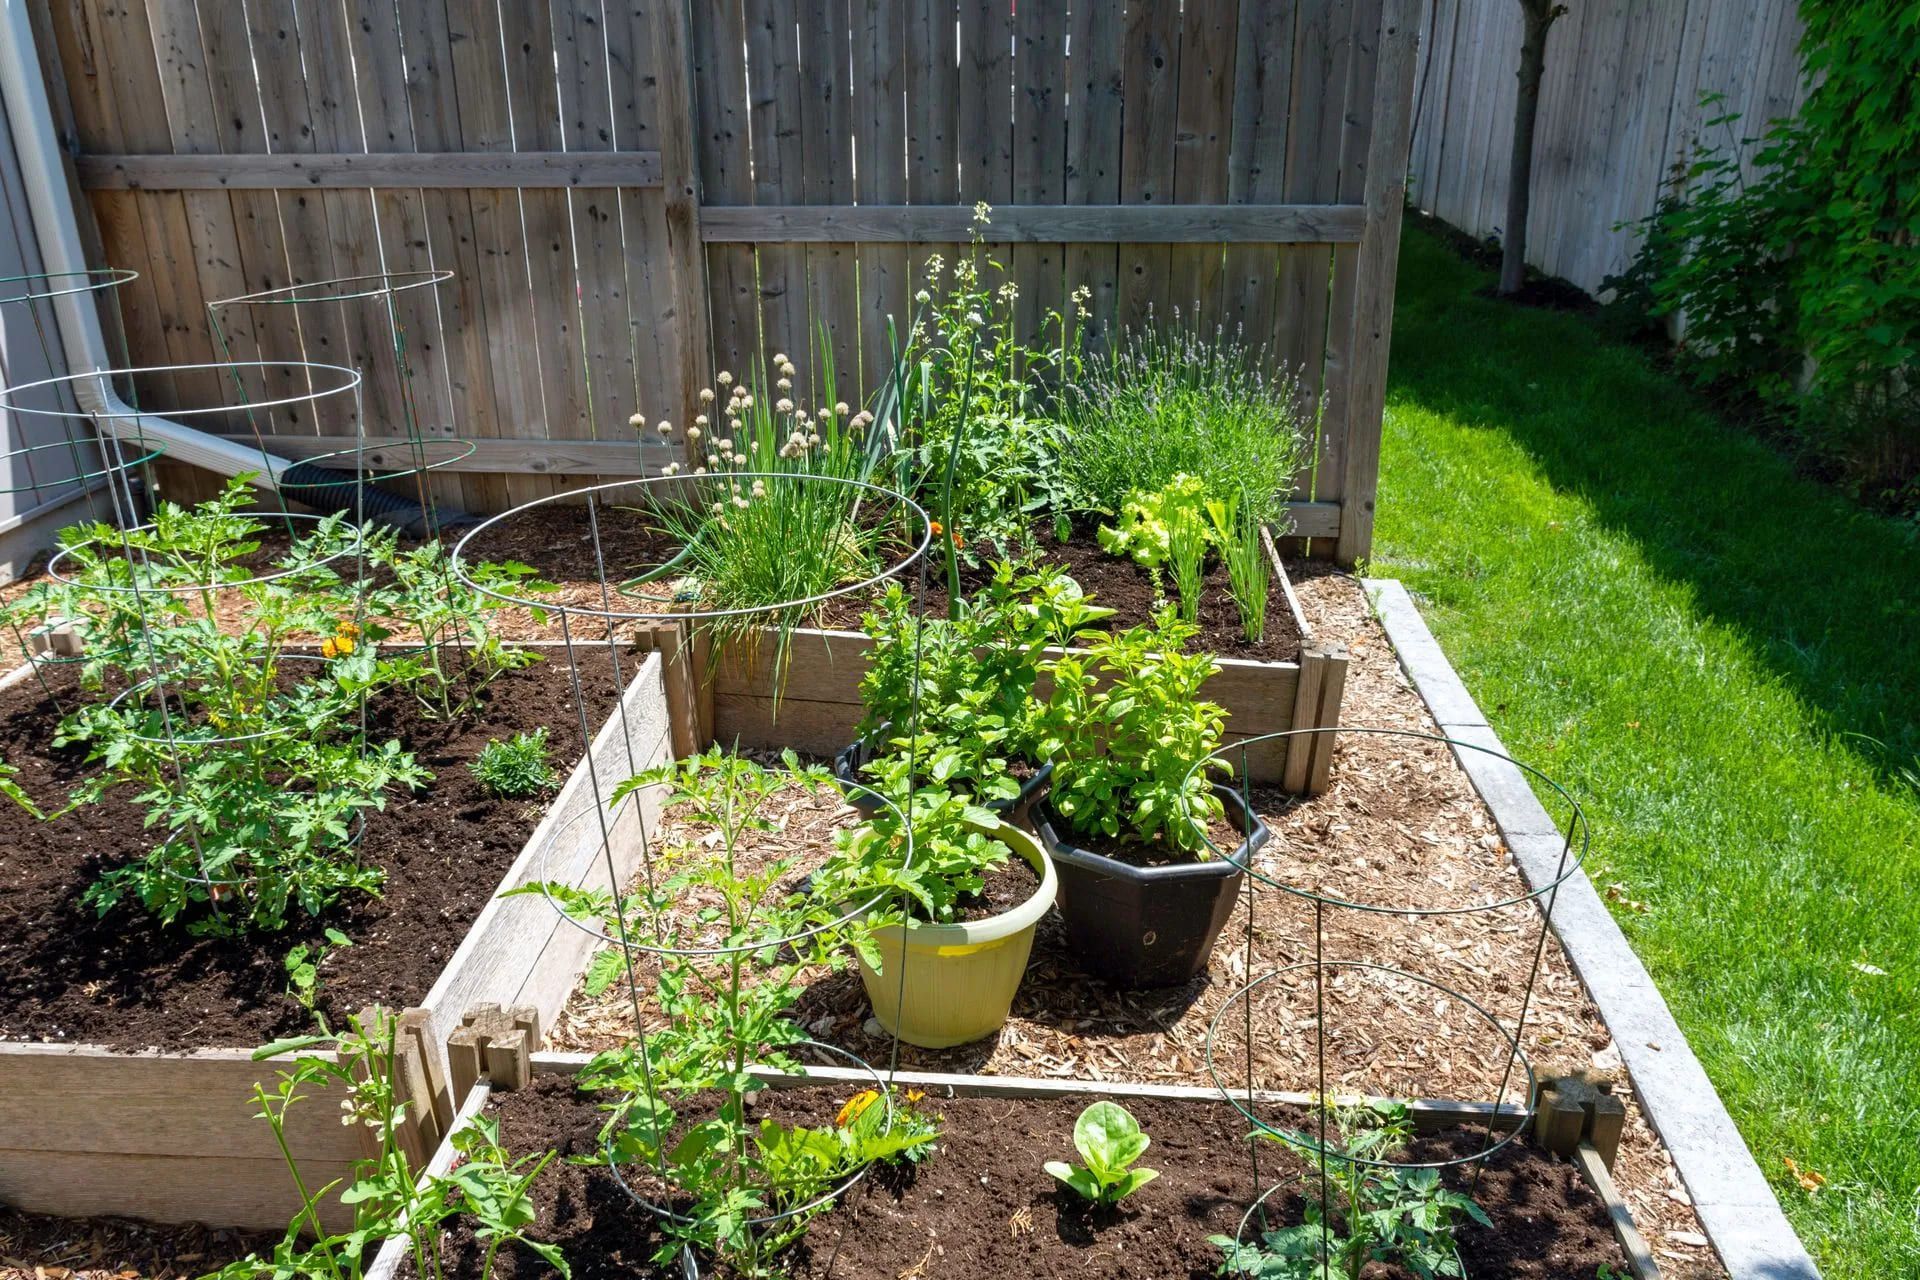
Building Raised Garden Beds

Raised garden beds are ideal for beginners. They offer better control over soil quality and drainage and are easier on your back. To build a raised bed, you’ll need materials such as untreated wood, screws, and a drill. Choose a sunny location and measure your desired dimensions. Assemble the wooden frame and secure it with screws. Place the frame on the ground and fill it with a mix of topsoil and compost. Raised beds are perfect for growing vegetables, herbs, and flowers.

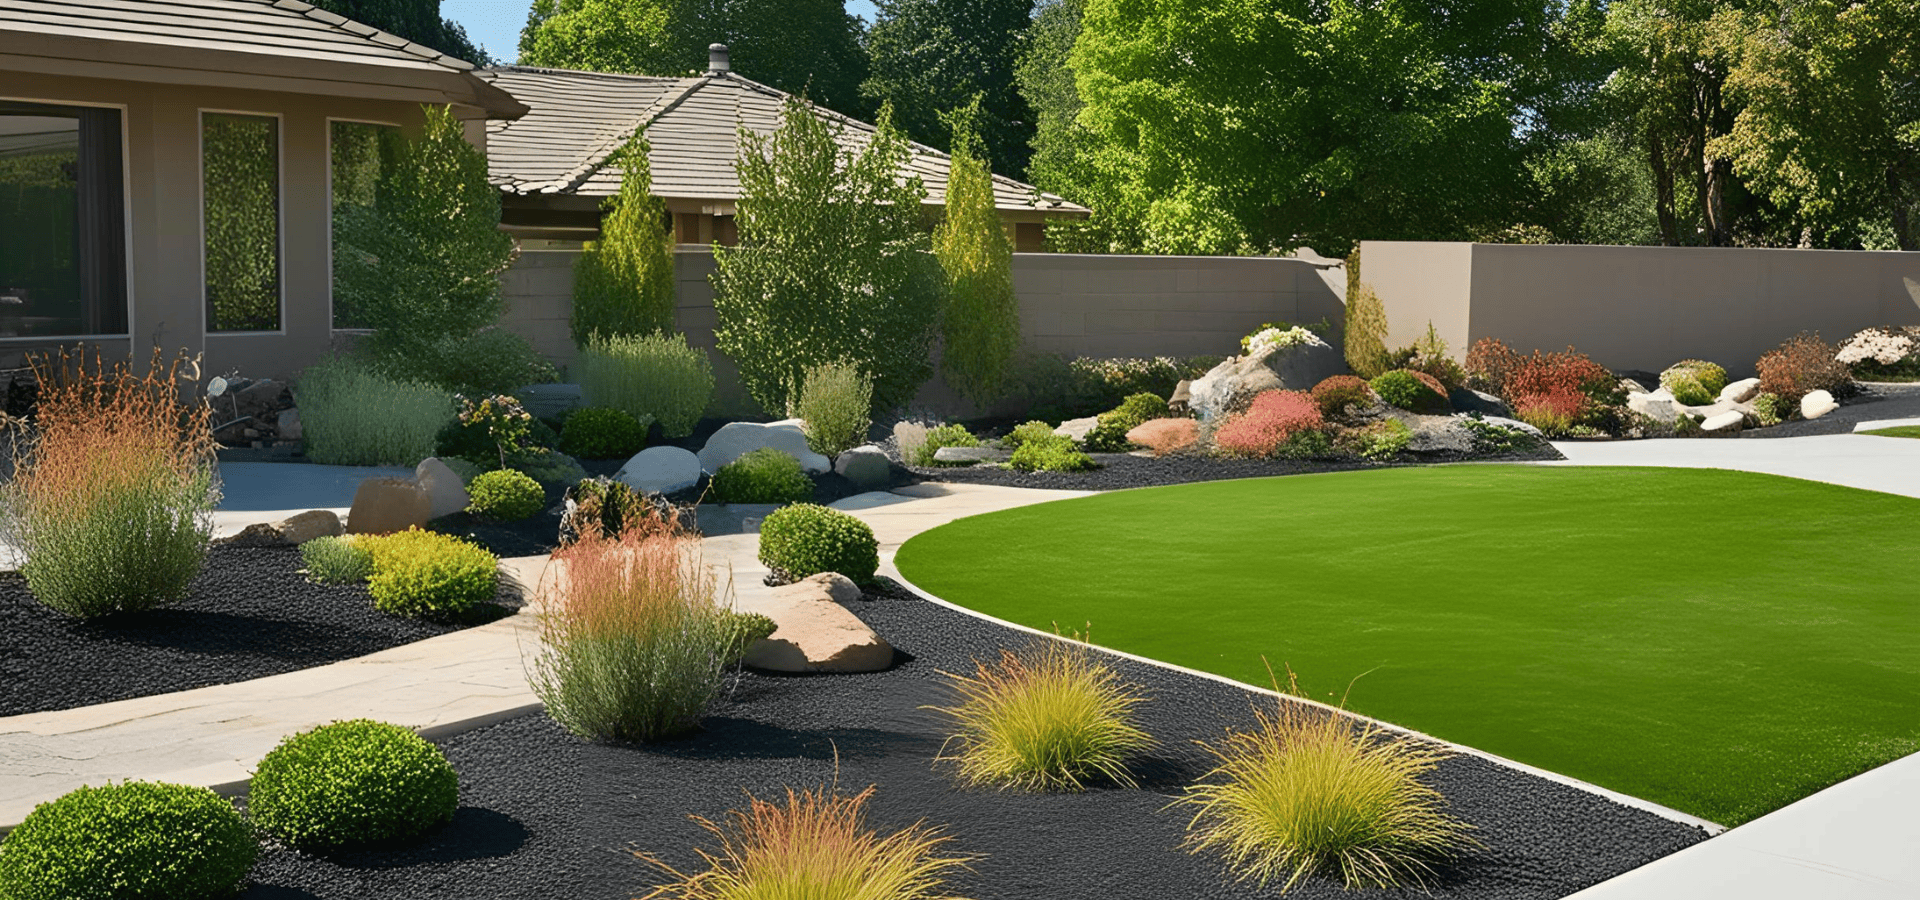
Adding Mulch and Ground Cover

Mulch is essential for retaining moisture, suppressing weeds, and improving soil health. Organic mulches, such as wood chips or straw, are particularly beneficial. Apply a 2-3 inch layer of mulch around your plants, avoiding direct contact with stems to prevent rot. For larger areas, consider alternative ground covers like clover or creeping thyme. These plants provide similar benefits and add visual interest.

Installing a Simple Irrigation System

Efficient irrigation is key to a healthy garden. Drip irrigation and soaker hoses are beginner-friendly options that conserve water and deliver it directly to plant roots. To install a drip irrigation system, lay out the tubing along your plant rows, attach emitters near the base of each plant, and connect the system to a water source. Set a timer to ensure consistent watering. Regularly check for clogs and leaks to maintain efficiency.

Creating a Small Water Feature

A water feature adds tranquility and attracts wildlife. Simple options like birdbaths, small ponds, or fountains are manageable for beginners. For a birdbath, choose a shallow basin and place it on a sturdy pedestal. For a small pond, dig a shallow hole, line it with pond liner, and add a small pump for circulation. Fountains can be made using a waterproof container, a submersible pump, and decorative stones. Position your water feature in a shady spot to minimize evaporation and algae growth.

DIY Garden Decorations

Personalize your garden with handmade decorations. Painted rocks, garden markers, and DIY planters are fun and easy projects. Gather smooth, clean rocks and paint them with weather-resistant paint to create colorful accents. Make garden markers using wooden stakes and paint or labels to identify your plants. Recycle old containers, such as tin cans or wooden crates, into unique planters by adding drainage holes and a fresh coat of paint.

Maintenance Tips

Regular maintenance keeps your garden looking its best. Basic tasks include weeding, watering, and pruning. Weeding is crucial to prevent competition for nutrients and water. Water your plants deeply and infrequently to encourage strong root growth. Pruning removes dead or diseased branches and promotes healthy growth. Seasonal maintenance is also important. In spring, clean up debris and refresh mulch. In summer, monitor for pests and diseases. In fall, prepare your garden for winter by clearing fallen leaves and protecting vulnerable plants.

DIY landscaping in Louisville can be a rewarding and enjoyable endeavor. By starting with simple projects, you can gradually build your skills and confidence. Remember to plan carefully, choose appropriate plants, and maintain your garden regularly. With patience and effort, you can create a beautiful outdoor space that enhances your home and provides personal satisfaction.

You might also like

Landscaper mowing a lawn for a homeowner in Lousville
February 20, 2025
Your lawn is a crucial part of your landscape’s aesthetic appeal. It’s just a patch of green grass, and most of the time, people won’t notice it very much–that is until it starts to look unsightly. Lawns are one of those things where people take for granted that they should look great all the time, so when they don’t, they really stand out. Unfortunately, lawn care isn’t as simple as just lawn mowing. Lawn mowing does make up a large part of lawn maintenance, but without other maintenance, your lawn is soon going to fall apart. So if you’re looking to learn how to keep your lawn in tip-top condition all the time, let’s begin. 1. Mowing Since mowing is going to make up the largest part of your lawn maintenance routine, let’s start with that first. Your Grass Type You may or may not know this depending on how involved you are with your lawn, but there are two main grass types for lawns–cool season and warm season grasses. Cool-season grasses are used for regions where winters are colder and summers are milder. Warm-season grasses are best for regions where winters are milder and the summers are hotter. Warm-season and cool-season grasses have different active growth seasons, mowing requirements, water requirements, and so on, so you need to know your lawn grass type to be able to tailor your maintenance. Frequency Cool-season grasses grow the most in spring and fall, but even warm-season grasses still grow steadily during these seasons, so weekly mowing is recommended, whether it’s warm or cool-season grasses you have. In summer, this is when warm-season grasses grow the most actively, so you’ll need to mow once every 5-7 days, and possibly even more if you see them growing extremely quickly. For cool-season grasses, their growth slows down in the summer, so you should only need to mow once every 7-10 days. In the winter, even the growth of cool-season grasses will slow down a lot, so whether it’s cool or warm-season grasses, you should only need to mow once every few weeks, or even none at all if your grass is in dormancy. So those are general guidelines for each season. However, there can be exceptions. You may need to mow more or less often depending on your grass species. You’ll know it’s time to mow when the grass blades are getting long or bending over, or if you see uneven patches. How To Mow
Outdoor space with a white pergola and a fire pit
February 19, 2025
Beautiful landscapes and lush gardens are great, but they’re only pleasing to the eye. To make the most out of your outdoor space, you need outdoor living spaces to add more functionality and allow your outdoor space to be used for a variety of activities. Outdoor living spaces like patios, outdoor kitchens, and more, allow you to enjoy yourself more and be more comfortable in your outdoor space. If you'd like to have someone do it for you, simply give Louisville Landscape Pros a call. Otherwise, if you’re looking to add an outdoor living space, or even a few to your backyard, you’re in the right place. We’re going to be covering how to go about planning and adding an outdoor living space to your landscape. 1. What Different Outdoor Living Spaces Are There? First off, you’ll need to know what’s available to you so that you can choose the most suitable one for your needs. Here are the various outdoor living spaces available. Patios Patios are the most commonly seen outdoor living space. They’re usually connected to your home and are meant to pretty much extend your living space into the outdoors. So it’s kind of like having an outdoor room for your home. Patios can be used for pretty much any purpose you want. A simply refers to a hard-surfaced outdoor space, basically a space with a hard surface you created, where you can build whatever you want on the hard surface. You can build an outdoor kitchen, a bar, a fire pit, and just about whatever you want. Decks Decks function like patios, serving as an extension of your home, but made of wood. The main differences are that decks are made of wood or composite, so they have different aesthetics, and they can be elevated. So if your home isn’t flat on the ground but elevated, you’ll have to build a deck to either connect to the ground or just use the deck as your outdoor living space directly. Outdoor Kitchens Another commonly seen outdoor living space, outdoor kitchens bring a whole new level of functionality to your space, allowing you to not just cook, but also cook food that you couldn’t do indoors because of the smoke. Outdoor kitchens can be built on both patios and decks, but for decks, being wood, they may not be able to withstand as much weight as patios, so they may need to be reinforced. Pergolas & Gazebos
A lush edible garden created by Louisville Landscape Pros
February 18, 2025
Edible landscaping is one of the most practical forms of gardening, and when done right, can also be quite aesthetically pleasing. Growing your own fruits, vegetables, and herbs allows you more control over the food you’re consuming and also allows you to be partially self-sustainable. Over time, edible landscaping is also usually cheaper than store-bought produce, as you’re skipping the transport costs, packaging costs, labor costs, and so on, which are all factored into the final cost of store-bought produce. So if you’re looking to learn how to be more self-sustainable, eat healthier, and cut down on food costs, let’s begin. 1. Is Your Space Suitable For Edible Landscaping? First off, before you begin on your edible garden, you need to assess whether your space can actually be used for edible landscaping. And this is mainly going to boil down to the amount of sunlight your outdoor space has. Most edible plants are going to need at least six hours of sunlight every day, and ideally, it should be strong, direct sunlight. So you need to observe your space and see where the sun shines throughout the day. Ideally, you should position your edible garden in the area that receives the most sunlight. The strength of the sunlight matters too. 5 hours of strong sunlight is better than 6 hours of weak sunlight. So again, carefully observe your area for a few days and see which spots get the most and strongest sunlight. In most cases, the more sunlight, the better, as most edible plants are meant to use as much sunlight as they can get. There are some exceptions, so it’s always good to check beforehand, but in the majority of cases, edible plants won’t ever have too much sunlight. Sunlight is the main concern, but of course, don’t neglect the other conditions too. Make sure to also assess your region’s hardiness zone and soil makeup. Your soil can be amended to suit the growing environment of your edible plants, but either way, you’d have to do a soil test to see if changes need to be made. Your hardiness zone, on the other hand, cannot be changed. You can try to create microclimates with walls, fences, shade structures, or greenhouses. But even then, it’s a lot more work than just amending soil. So try to find edible plants that can suit your hardiness zone rather than trying to amend your hardiness zone to suit your edible plants. 2. Choosing The Edible Plants Sometimes, you’ll see edible gardens that look plain and dull. But that’s not an issue with edible gardens itself, but the planning. To have an aesthetically pleasing edible garden, needless to say, you need edibles of different colors. This shouldn’t be an issue unless you’ve got your mind set on specific plants that you want to use, which most people don’t. If you’ve got one or two edible plants that you’re dead set on having, that’s still fine as long as you have a variety of other plants to add color. If you really don’t care about aesthetics and just want to have the edibles for consumption, then you can just plant the ones you like. But for those who want an aesthetic edible garden, here are great choices for each type of edible. Fruits
More Posts
Share by: